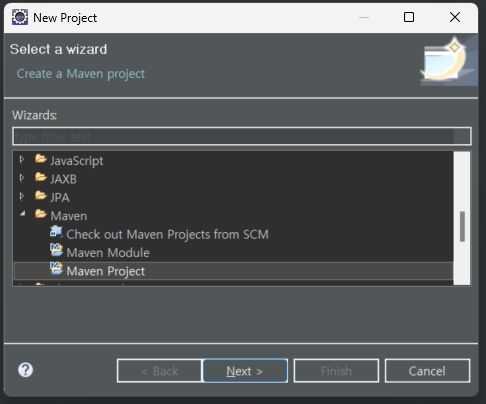
Maven Project

새프로젝트 만들기 >maven Project
create a simple 체크

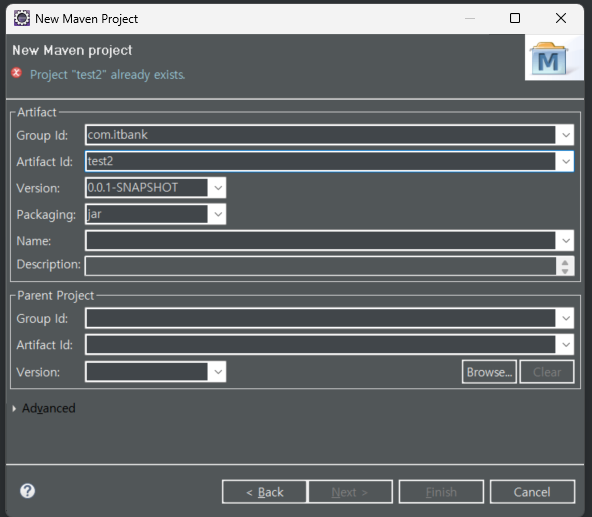
Group id : com.itbank
Artifact id : 프로젝트 이름 > finish
pom.xml 열기
pom.xml : Project Object Model, 프로젝트 컴파일, 빌드, 라이브러리 의존성을 설정하는 파일
groupId : 프로젝트의 소속, 다른 프로젝트와 중복될 수 있다.
artifactId : 프로젝트의 고유이름, 다른 프로젝트와 중복될 수 없다.
(groupId 가 다르면 중복되어도 상관없다)
dependencies : 프로젝트의 라이브러리 의존성, 라이브러리를 추가하면 자동으로 다운로드 받고 추가한다.
build : 프로젝트 컴파일 및 빌드 관련 도구 및 설정
라이브러리 의존성 추가
	 <dependencies>
	 	<dependency>
	 		<groupId>org.springframework</groupId>
	 		<artifactId>spring-context</artifactId>
	 		<version>4.3.30.RELEASE</version>
	 	</dependency>
	 </dependencies>

test2프로젝트 생성시에는 단순 maven project였지만
pom.xml에 라이브러리 의존성 <dependencies>을 추가해주니까 maven기반의 springProject로 바뀐다.
컴파일 관련 도구 및 설정
이 프로젝트가 실제로 실행되기 위해서는 어떤 자바버전을 써야하고 인코딩방식은 어떤 속성을 쓰겠다를 지정
	 <build>
	 	<plugins>
	 		<plugin>
	 			<artifactId>maven-compiler-plugin</artifactId>
	 			<version>3.1</version>
	 			<configuration>
	 				<source>1.8</source>
	 				<target>1.8</target>
	 				<encoding>UTF-8</encoding>
	 			</configuration>
	 		</plugin>
	 	</plugins>
	 </build>
Hello클래스
public class Hello {
	private String text = "Hello, world !!";

	public String getText() {
		return text;
	}

	public void setText(String text) {
		this.text = text;
	}


}
Main클래스
public class Main2 {
	public static void main(String[] args) {
		// Context init = new InitialContext();
		GenericXmlApplicationContext context =
				new	GenericXmlApplicationContext("classpath:context.xml");

		Hello ob1 = context.getBean(Hello.class);
		Hello ob2 = context.getBean("hello" ,Hello.class);

		System.out.println(ob1.getText());
		System.out.println(ob2.getText());
		System.out.println();

		System.out.println(ob1 == ob2);
		context.close();
	}
}
context를 통해 spring bean을 지정해주는 방법
1. 클래스자체를 불러오는방법
2. 클래스를 지정해주고 클래스명과 bean의 id를 일치시켜주는 방법
context.xml
<?xml version="1.0" encoding="UTF-8"?>
<beans xmlns="http://www.springframework.org/schema/beans"
		xmlns:xsi="http://www.w3.org/2001/XMLSchema-instance"
		xsi:schemaLocation="http://www.springframework.org/schema/beans
			http://www.springframework.org/schema/beans/spring-beans.xsd">

	<bean id="hello" class="test2.Hello">
		<property name="text" value="Hello, Spring"></property>
	</bean>

</beans>
스프링컨테이너 안에 스프링 빈 객체가 하나만 등록돼있다면
어떤 객체를 넣어야 될지 스프링이 판단해서 자동으로 연결시켜줄 수 있다.
객체를 생성하고 객체를 관리하고 객체를 연결하는 파트는 스프링이 알아서 하고
개발자는 스프링이 만들어놓은 객체를 받아서 써라. 개발자는 프로그램 로직에만 온전히 신경을 쓸 수 있다.
beans태그안에서 property 태그를 통해서 setter함수처럼 값을 재지정 시켜줄 수 도있다.
springFramework는 객체등록시 자동으로 싱글톤 타입의 객체를 가지게 된다.
Main2를 실행해서 콘솔창을 확인해보면
classpath : context.xml로부터 XML bean이 정의되어서
context.xml에서 객체를 생성해서 연결시키는 작업을 모두 수행한다.

작업이 끝나면 context를 닫아준다.

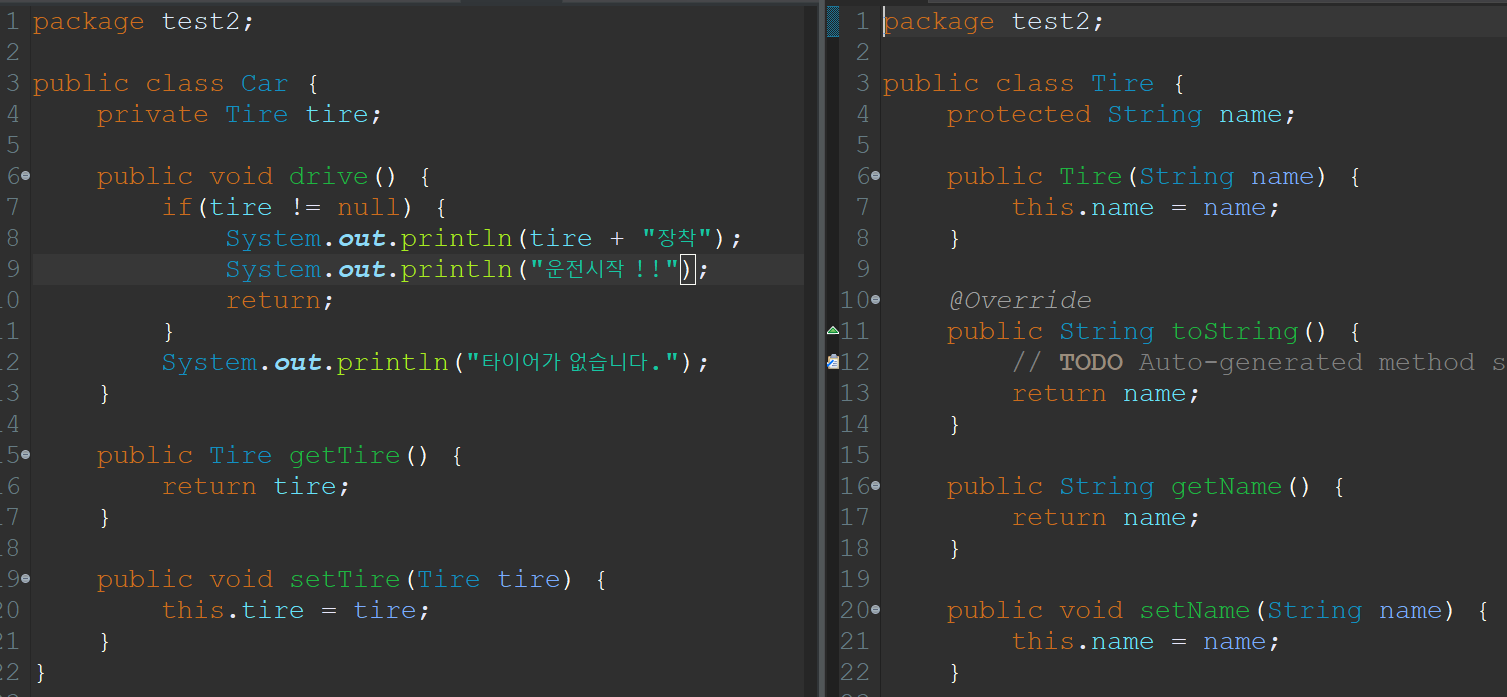
클래스 Car는 Tire에 대해서 의존성을 가진다.
자동차는 타이어가 없으면 정상적으로 작동할 수가 없는 구조이기때문
	<bean id="nomalTire" class="test2.Tire">
	<!-- 생성자 매개변수에 value의 문자열 값을 넣어주겠다 (String name)을 처리하겠다. -->
		<constructor-arg value="일반 타이어" />
	</bean>

	<bean id="snowTire" class="test2.Tire">
		<constructor-arg value="스노우타이어" />
	</bean>

	<bean id="car1" class="test2.Car">
		<property name="tire" ref="nomalTire" />
	</bean>

	<bean id="car2" class="test2.Car">
		<property name="tire" ref="snowTire" />
	</bean>

	<bean id="car3" class="test2.Car">
	</bean>
context.xml에서
Car와 Tire에 대해서 각 객체를 생성해주고
각 Car 객체에 대해서 일반타이어와 스노우 타이어를 참조해준다.
🚗car1 = 🛞nomalTire 참조
🚗car2 = ❄️🛞 snowTire 참조
🚗car3 = 참조된 Tire 없음
Main3 실행
import org.springframework.context.support.GenericXmlApplicationContext;

public class Main3 {
	public static void main(String[] args) {

		GenericXmlApplicationContext context =
				new GenericXmlApplicationContext("classpath:context.xml");

		Car car1 = context.getBean("car1",Car.class);
		Car car2 = context.getBean("car2",Car.class);
		Car car3 = context.getBean("car3",Car.class);

		car1.drive();
		car2.drive();
		car3.drive();

		context.close();
	}
}
Main3클래스에서 객체를 context.xml 에서 지정한 객체의 이름과 연결시켜주고 클래스를 참조해준다.
🚗 car1 (nomalTire)
🚗 car2 (snowTire)
🚗 car3 (x)
🚗💨 car1.drive()
🚗💨 car2.drive()
🚗🚫 car3.drive()
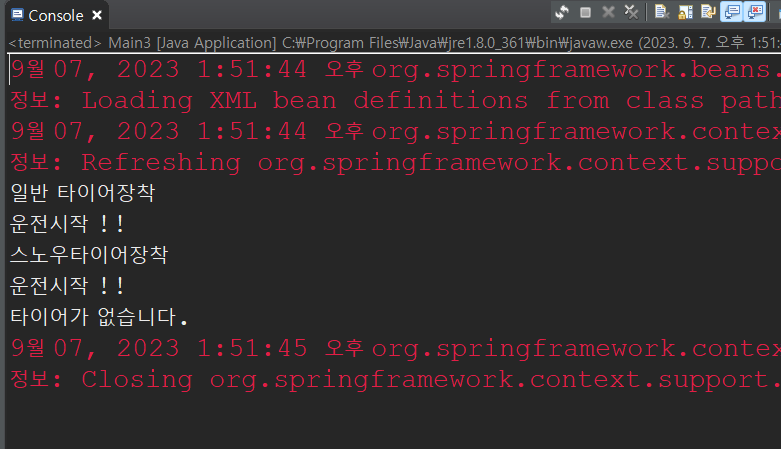
객체 car3에 tire는 연결되있지않다 그러므로 객체 car3는 운전을 시작할 수 없다.
이것이 자동차(객체)와 타이어(객체)간의 의존성
스프링프레임워크 기초를 다질때 이 "의존성" 이 그 무엇보다 중요하다고 할 수 있겠다.